Basics
1. Introduction
Welcome to Arduino! Before you start your programming journey, you need to set up the software.
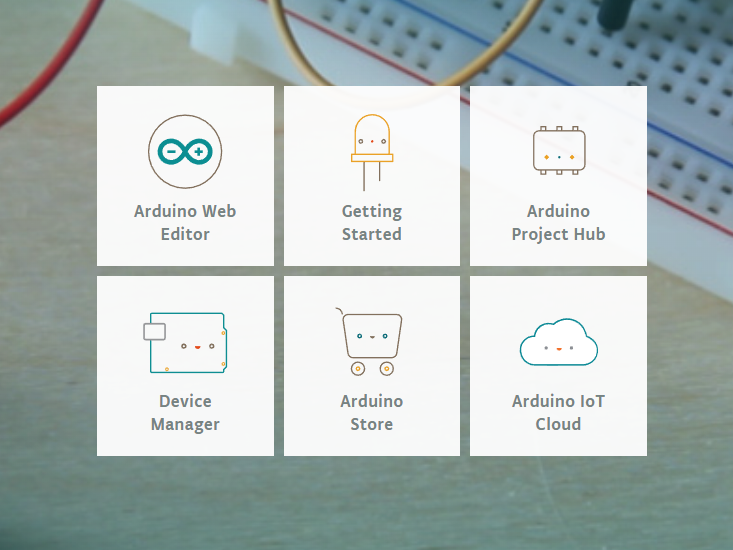
To write your board Arduino software (IDE) allows you to write programs and upload them to your board. In the Arduino Software page you will find two options:
- If you have a reliable Internet connection, you should use the online IDE (Arduino Web Editor). It allows you to save sketches in the cloud, get them from any device and back them up. You will always have the latest version of the IDE without having to install an update or a community-generated library.
- If you want to work offline, you should use the latest version of the Desktop IDE
Important
It is recommended to install the desktop IDE
3. Arduino-ESP32 construction
Please follow the detailed steps below to complete the installation process.
Setting up the development environment
3.1 Install Git

Steps:
After the download is complete, double click to open, Always click Next until you are done.
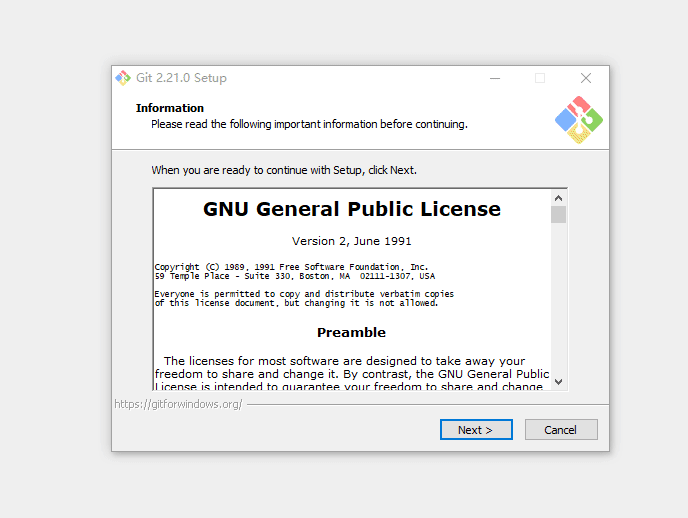
Installation process
Inspection steps:
After the installation is complete, click the right mouse button. You will see Git Bash Here The description has been successfully installed. We will use this software later
3.2 Pre-build configuration
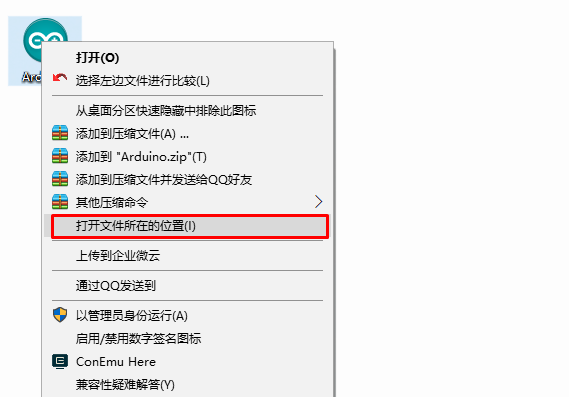
Open the folder where Arduino is located
Note
Click on the icon, then right click and select ``Open folder where ``
Steps:
- Select hardware ->
- Mouse ** Right click ** ->
- Click Git Bash Here
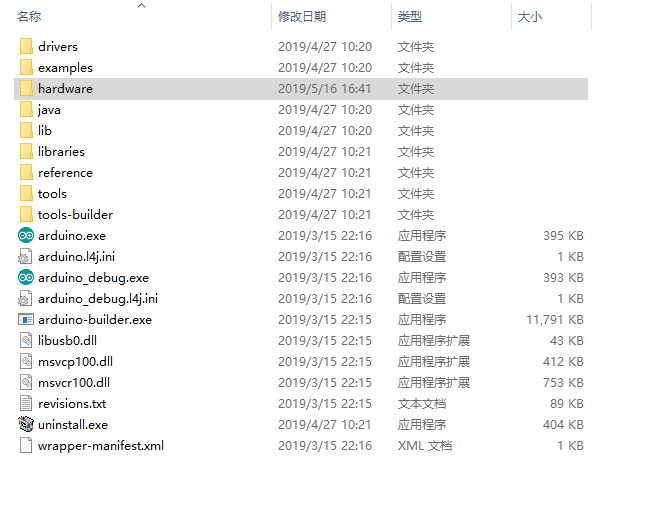
hardware: Arduino stores folders of supported hardwareGit Bash Here: can open Git Bash terminal in the current folder
3.3 Cloning a remote repository
The purpose of this process is to clone a remote repository from the GitHub website.
In order to make the construction process easier and prevent the problem of incomplete files, it is not appropriate to use the direct download zip here.
Create a folder:
mkdir espressif
Enter the folder:
cd espressif
Note
mkdir:make directory,Program function -> create a folderespressif:ESP32, ESP8266 and other devices are set in this foldercd:change directory,Program function -> change the current path
Bash is a shell, and mkdir cd is a built-in bash command.
Clone a remote repository:
git clone --recursive https://github.com/espressif/arduino-esp32.git esp32
Note
git clone:One of the git action instructions to clone a remote repository--recursive:One of the git action instructions to download the repository submodule directlyesp32:Writeesp32at the back of the link to change the name of the cloned repository folder. The default is Arduino-esp32.
This must be set to esp32, because arduino will read arduino/hardware/espressif/esp32 by default.
Demo video

3.4 Installing the Compilation Toolchain
Next, install esptool, compile toolchain and other tools.
**Congratulations, this is the last step of arduino-esp32, and the victory is in sight! **
We just click on get.exe and the script will automatically download the tool for us.
Steps
- Enter
arduino/hardware/espressif/esp32 - Click
tools - Double-click
get.exeto automatically download dependencies - Waiting for download, cmd is automatically closed after the download is complete
Demo video
